Tattoo placement guide: how to choose where
Placement decides how a tattoo ages, how much it hurts, who sees it, and whether the drawing still reads clearly in five years.
The short version
- Bone, nerve clusters and thin skin hurt most: ribs, sternum, spine, ankle, hand and the back of the knee.
- Hands, fingers and feet fade fastest and need touch ups years sooner than a forearm or a thigh.
- Flat, padded, low friction areas hold detail best: outer forearm, upper arm, thigh and upper back.
- Let the shape of the body part shape the design, and always test the real size on your skin first.
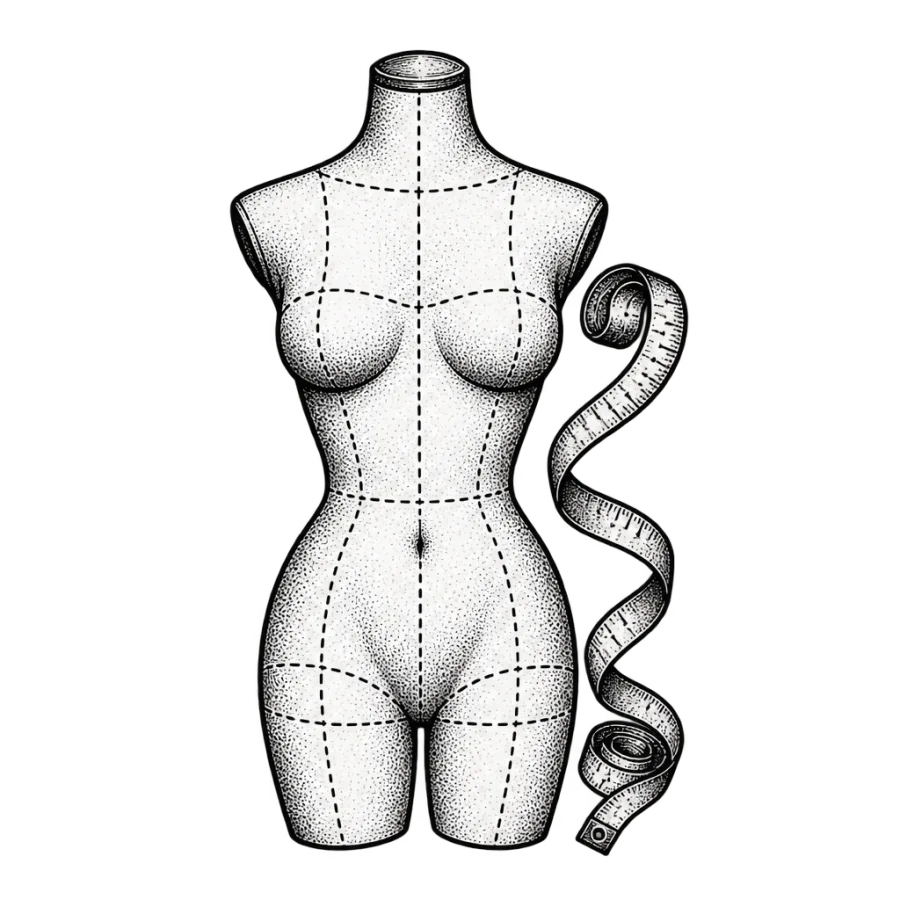
Most people choose the design first and the spot second. That order is backwards more often than not. The body part you pick sets the size, the shape, the pain, the healing time and the price before a single line is drawn. Get placement right and a simple design looks intentional. Get it wrong and good artwork sits awkwardly on the skin.
There is no universally best spot. There is only the spot that fits your design, your job, your pain tolerance and how much you want people to see it. This guide walks through each of those in turn, with honest pain notes and the aging differences nobody mentions until the tattoo is already three years old.
Start with how visible you want it
Visibility is the one placement decision you cannot undo cheaply. Laser removal runs 6 to 12 sessions at $150 to $500 each, and a cover up limits your options forever. So think about the next ten years, not this summer. A forearm piece shows in every short sleeve shirt and every video call. An upper back piece shows at the beach and almost nowhere else. Neither is better. They are different commitments.
Hands, fingers, the front of the neck and the face are still called job stoppers for a reason. Plenty of industries no longer care. Healthcare, food service, law, finance, aviation and client facing sales frequently still do, and policies shift with management. If you are early in a career and unsure, put the first few pieces where a long sleeve covers them.
Rough visibility tiers
- Hidden by default: upper back, chest under a shirt, ribs, hip, thigh
- Hidden at work, visible off the clock: upper arm, shoulder, calf, ankle
- Visible most days: forearm, wrist, behind the ear, back of the neck
- Visible always: hands, fingers, throat, face
Pain is mostly about what sits under the skin
Pain tracks three things: how much fat and muscle sit between the needle and the bone, how many nerve endings run through the area, and how thin the skin is. Anywhere bone is close to the surface feels sharp and rattling. Anywhere nerves cluster feels electric and hot. Soft, padded areas feel like a persistent scratch, which most people tolerate for two or three hours without much trouble.
Your own state matters as much as the map below. Sleep, a real meal two hours before, no alcohol the night before and steady breathing change the experience more than people expect. Any session past the three hour mark hurts more at the end regardless of the spot, because the skin is already swollen and raw. Ask for a break before you need one, not after.
| Area | Pain out of 10 | Why it feels that way |
|---|---|---|
| Outer forearm | 3 to 4 | Muscle padding, few nerve clusters |
| Outer thigh | 3 to 4 | Thick tissue and plenty of room |
| Upper arm | 4 | Soft over the bicep, sharper near the elbow |
| Calf | 4 to 5 | Fine until the shin bone or the back of the knee |
| Shoulder blade | 5 | Manageable until the needle crosses bone |
| Spine | 7 to 8 | Bone the whole way, and the vibration carries |
| Ribs | 8 | Thin skin over bone, and breathing moves the area |
| Hands and fingers | 8 | Bone, tendon and dense nerve endings together |
| Ankle and foot | 8 | Almost no padding anywhere on the surface |
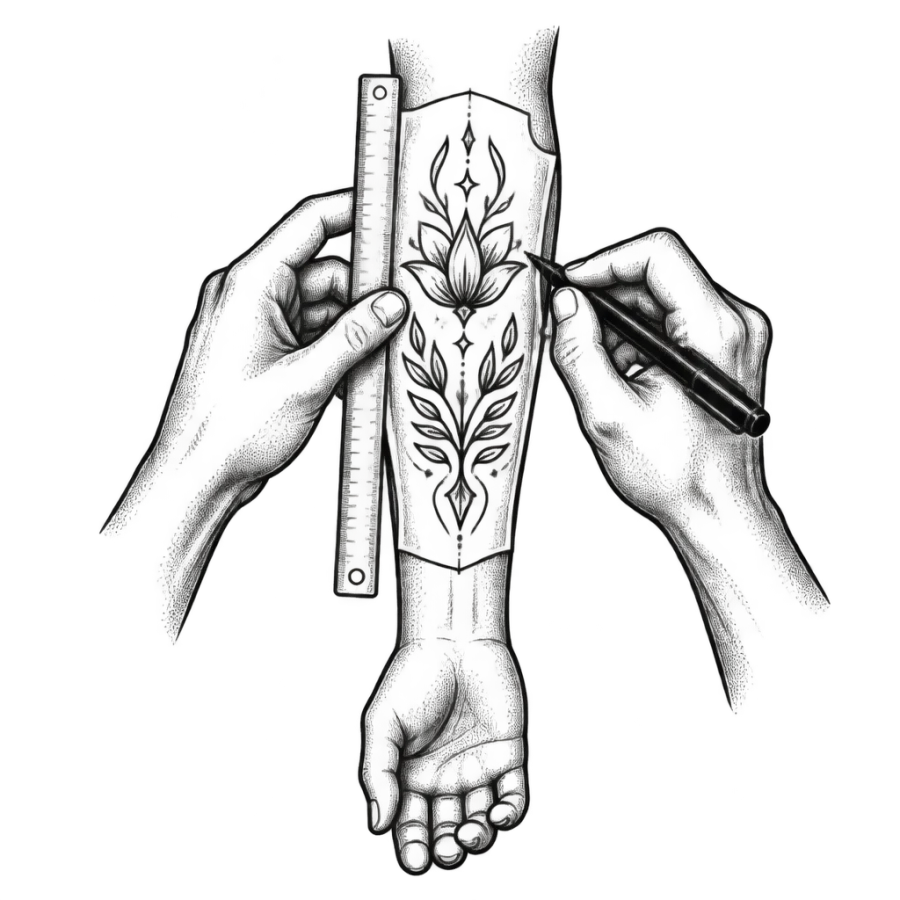
Let the shape of the body part shape the design
Arms and legs are cylinders. You only ever see about a third of one at a time, so a wide design that wraps has to work as a front view on its own. This is why long vertical compositions suit the forearm, the calf and the spine, while wide horizontal ones suit the chest, the upper back and the ribs. A square design on a narrow limb gets squeezed at the edges and loses its outer detail.
Flow matters too. A rib piece that follows the curve of the ribs looks anchored. The same piece set dead straight looks pasted on. Shoulder caps read best as rounded compositions, calves as a teardrop wider at the top, forearms as a tapering column. Tell your artist which direction the tattoo should read from, standing or looking down, because those two views differ more than people expect.
Sizing: what actually fits where
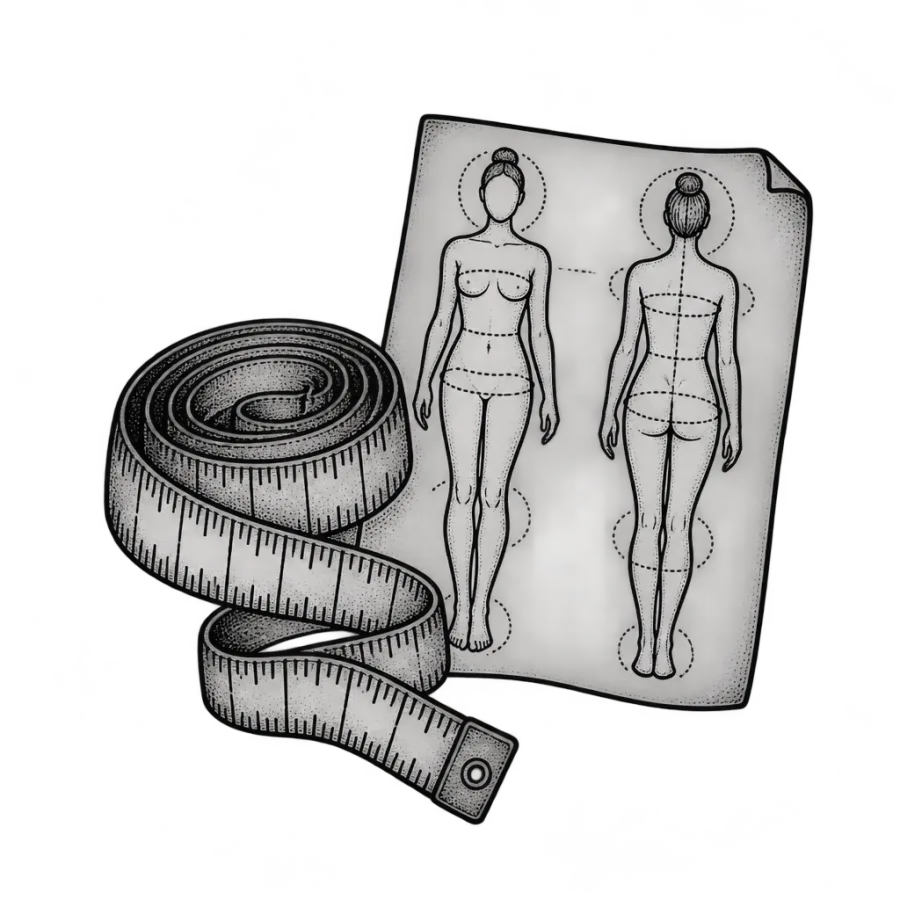
Detail needs room. Any design with more than a handful of elements needs roughly 8 cm, about 3 inches, before the internal lines start to merge. Lines laid too close together spread underneath the skin over ten years and eventually blur into a single grey mass. Artists size up for this on purpose, and an artist who asks to make your idea 20 percent bigger is protecting it, not upselling you.
Comfortable size ranges by area
- Wrist, ankle, behind the ear: 4 to 7 cm, 1.5 to 3 in
- Inner forearm, collarbone: 8 to 15 cm, 3 to 6 in
- Outer forearm, calf, shoulder: 12 to 20 cm, 5 to 8 in
- Thigh, upper back, chest panel: 20 to 35 cm, 8 to 14 in
- Full back, full sleeve: 35 cm and up, 14 in and up
How each area ages
Three forces blur a tattoo: friction, sun and skin turnover. Hands, fingers and feet lose the most because they rub against everything and the skin there replaces itself quickly. Finger tattoos in particular often need a touch up inside a year, and many artists will not do them at all for that reason. Feet, elbows and the outside of the knee are close behind.
The best aging areas are padded, rarely sun exposed and low friction: the inner and outer forearm, the upper arm, the upper back, the thigh. Skin that stretches changes the drawing instead of fading it. Stomach, ribs, inner upper arm and hips move most with weight change, pregnancy or serious muscle gain, so geometric grids and tight lettering are riskier there than organic shapes.

Healing, clothing and daily friction
Surface healing takes about 2 to 3 weeks. The deeper skin settles over 2 to 3 months. During those first weeks, anything that rubs is a problem. Bra straps sit right on the upper back and shoulder. Waistbands cross the hip. Socks and shoes sit on the ankle and foot. Watch straps land on the wrist. Plan the spot around what you wear every day, or plan to wear something else for a month.
Sleeping matters more than people think. A fresh rib or spine piece is hard to sleep on for the first week. Add in no swimming, no soaking and no direct sun for around three weeks, plus gym sessions that pull at the area, and the practical cost of a placement becomes clear before you book.

Matching style to placement
Styles are not equally portable. Bold lines with solid fill survive anywhere. Delicate work needs stable, flat, protected skin. If you love a style that does not suit the spot you want, the honest fix is to change the spot or change the scale, not to shrink the artwork and hope.
Sensible pairings
- Fine line and minimalist: inner forearm, upper back, collarbone, calf
- American traditional and neo traditional: upper arm, calf, chest, thigh
- Japanese and large blackwork: back, thigh, full sleeve, anywhere with room to flow
- Black and grey realism: flat panels of 15 cm or more, never fingers or feet
- Lettering: straight runs such as the forearm, collarbone, spine, ribs
Test the placement before the needle touches you
Print the design at true size, cut it out and tape it on. Wear it for a day. Take photos in a mirror and on a phone at arm’s length, because you see your own arm from an angle nobody else does. Most placement regret is caught in that hour of taped paper and never becomes permanent.
On the day, the stencil goes on first and you get to look. Stand up. Move your arm naturally. Look in a full mirror from a few steps back, not down at yourself. If it sits a centimeter too low or tilts slightly, say so. Every decent artist expects two or three stencil placements and would far rather reposition than tattoo something you will squint at forever.
Questions people ask
Where do tattoos hurt the least?
The outer forearm, outer thigh and upper arm are the softest options, roughly 3 to 4 out of 10 for most people. All three have muscle and fat between the needle and bone and no dense nerve clusters. The upper back and shoulder blade are close behind, as long as the design stays off the bone itself.
What is the best placement for a first tattoo?
The inner or outer forearm, the upper arm or the outer thigh. Pain is manageable, healing is simple because clothing rarely rubs those areas, the skin holds detail well for decades, and you can cover the spot at work if you need to. They also let you sit a two hour session without hitting your limit.
Do tattoos stretch if I gain or lose weight?
Moderate weight change of 5 to 10 kg usually has no visible effect on a forearm or calf. Large changes, pregnancy or heavy muscle gain do show on the stomach, ribs, hips and inner upper arm, where skin stretches most. Organic shapes hide that movement. Tight geometric grids and small lettering show it clearly.
Which placements fade the fastest?
Fingers first, then hands and feet, then elbows and the outside of the knee. Constant friction plus quick skin turnover breaks the ink up within months rather than years. Many artists decline finger work or charge for it knowing a touch up is coming. Sun exposed spots such as the shoulder fade faster than covered ones.
Can I get a tattoo somewhere visible at work?
Check the written dress policy rather than looking around the office, because enforcement changes with managers. Forearms are widely accepted now in most sectors. Hands, the neck and the face remain restricted in healthcare, food service, aviation and client facing finance. If you are unsure, choose a spot a long sleeve covers and revisit later.